Wednesday, July 18, 2012

Checkers Anyone?


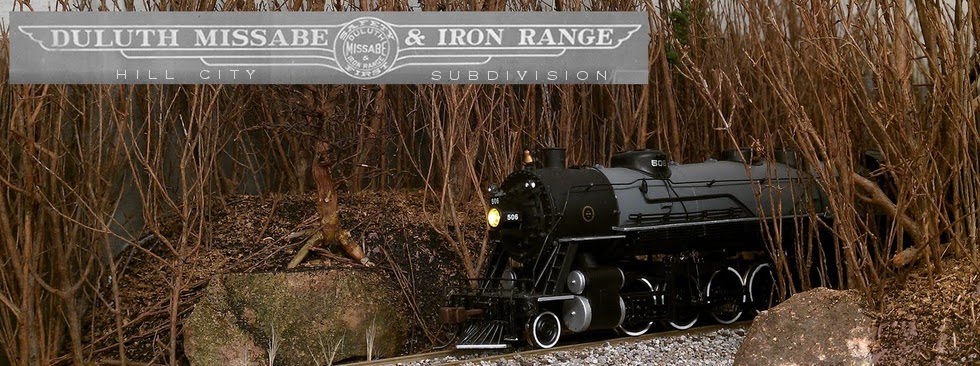
I'm test-driving a new camera, my first DSLR.  The photo above, and the one below, were taken with the new camera.  


Why do I need, OK, want, a new camera?  What's wrong with the old one?  Well, there's nothing "wrong" with the old one, it takes great photos.  In spite of that, it's not a DSLR, and the intent all along was to use it as a learning tool before investing in something more expensive.  I caught a lucky break when a good friend of mine, who is also upgrading his equipment, offered to sell me his DSLR at a can't-say-no price.

I still haven't answered the question as to "why" I want a better camera.  That's a deep question, or more precisely, a depth question.  Without getting into f-stops and other photography jargon, I'll just ask you to look at this photo:


The image on the left is from the old camera, the one on the right from the new camera.  In both photos, the boxcar and the tracks are in focus.  Moving back to the two guys on the platform, they're a little out of focus in the left image, but still sharp in the right image.  Moving further back to the background trees, they're completely out of focus in the left image, but nicely focused in the right image.  This is called "depth of field", and my old camera has a very limited depth of field.  Unfortunately, taking good model photos requires a good depth of field, thus the desire for a better camera.

How Long Does It Take...

... to build 4 HO scale double-hung windows from scratch?  About two weeks, judging from the time since my last post.  Ok, that's an exaggeration - I've also finished the siding on the front of the depot.


It's actually not that bad building these things, now that I have a system (more on that later) figured out.  The hardest part is not rushing things, trying to move too fast without letting the glue dry thoroughly.

As you can see, with careful measuring and a little filing, they fit nice and flush with the siding.


They even have "glass" installed!


Now, somebody pass the Windex...

Sunday, July 1, 2012

Plastic Glass

Another afternoon of guilt-free modeling, thanks to it being 90 million degrees outside - too hot to do anything.  I spent the time building a couple of "practice" windows, before finally settling on a technique that I like.  The technique is simple - build the upper sash first (the one in the front), then glue top and both sides of the surrounding window frame to the sash.  Build the lower sash, glue it in place behind the upper sash, the glue the bottom piece of the window frame in place.  For variety, you can build some of the windows with the lower sash partially raised, to create an open window.

Here's the pick of the litter from today's efforts:


The window "glass" is clear plastic, cut from an Atlas turnout package.  I've mentioned this in an earlier blog post, but I'll repeat it here for context.


Here's how it looks installed in the depot, with the siding partially completed around it.


One window done, 12 more to go!